
Start with a default
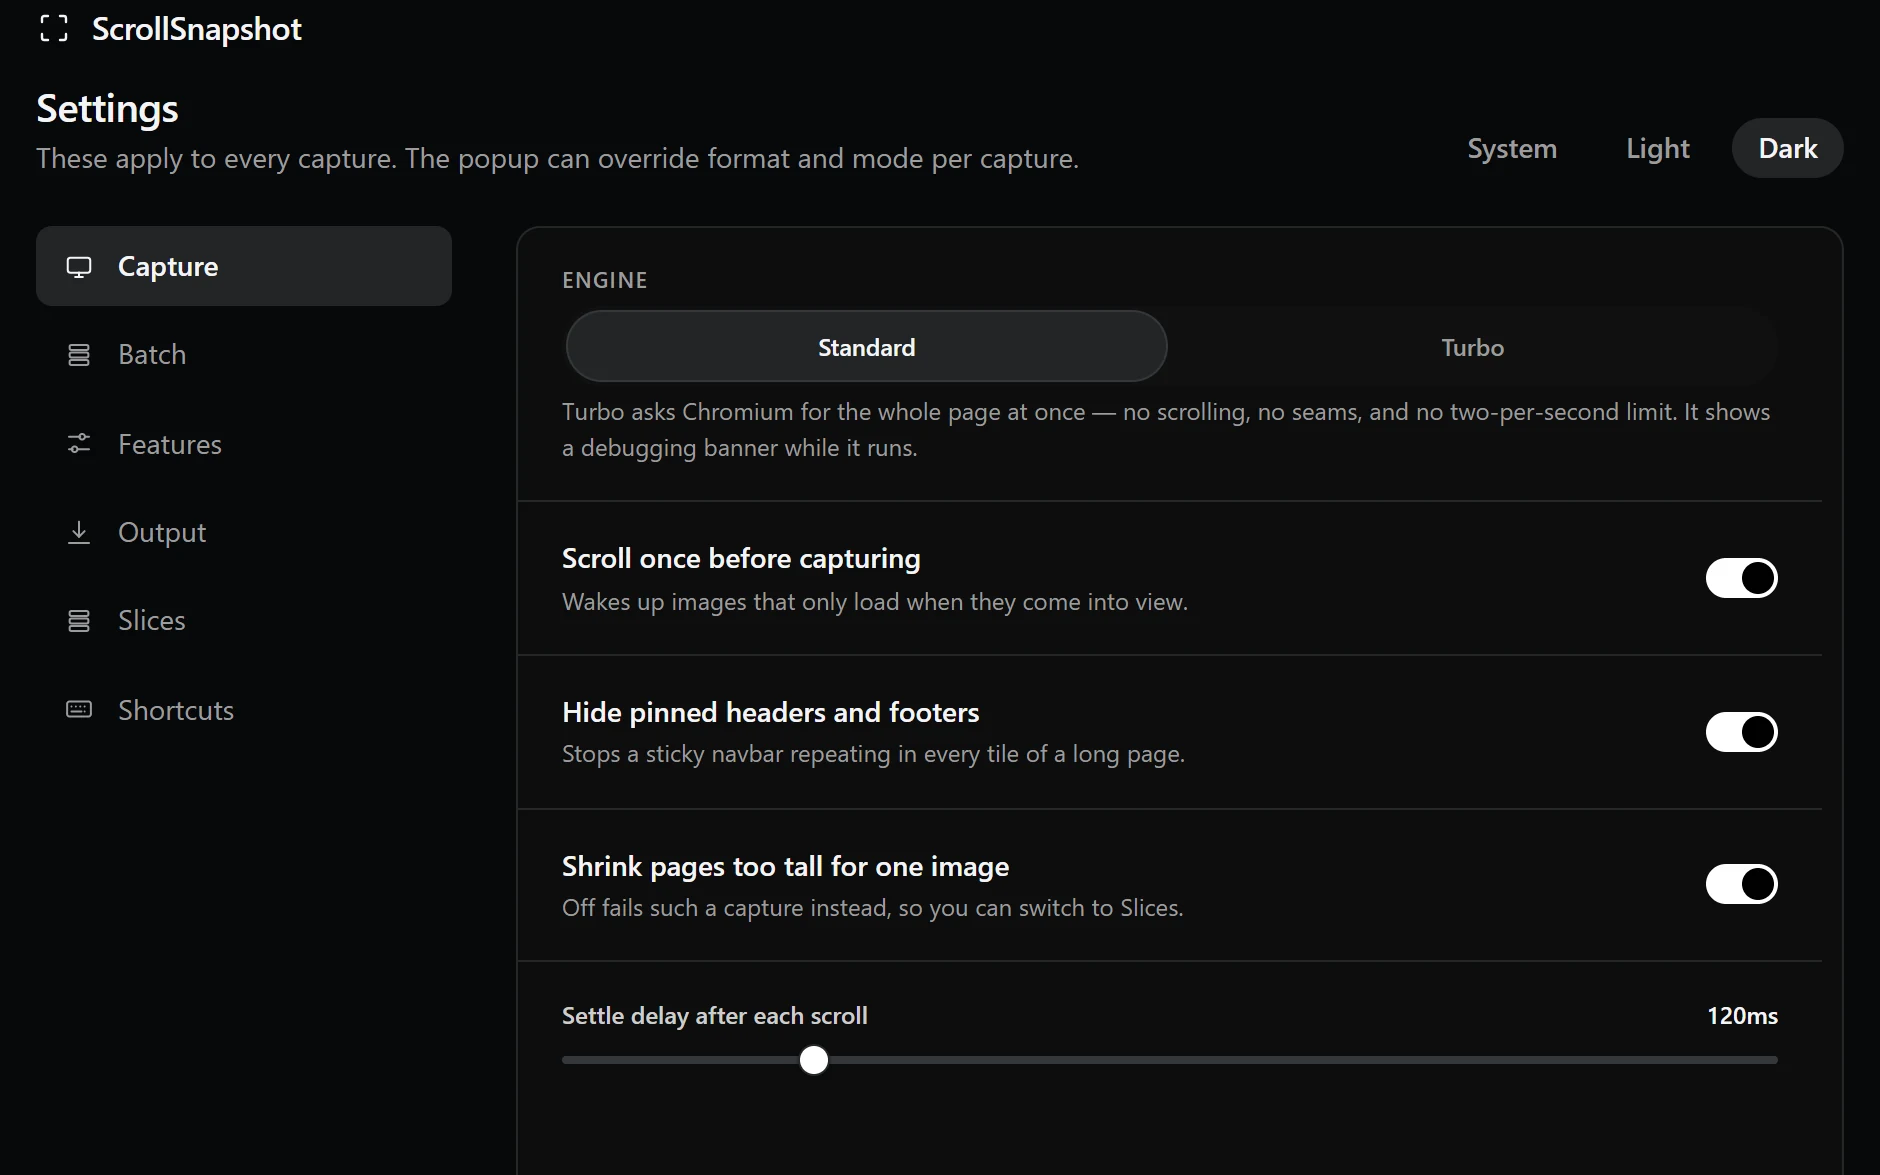
Open Settings from the extension popup. The choices here apply across captures; the popup can override capture mode and image format for one capture. The System, Light, and Dark switch at the top changes the extension's appearance, with System following your device preference.
Capture: choose how the page is read
Standard builds a full-page image by scrolling and stitching. Turbo asks Chromium for the whole page at once, avoids scrolling seams, and shows a browser debugging banner while it runs. Choose Standard when you need the scrolling controls below; use Turbo when its direct capture suits the page.
Scroll once before capturing wakes images that load only when viewed. Hide pinned headers and footers prevents a sticky bar from repeating through a stitched image. Settle delay after each scroll gives dynamic content 0–600 ms to finish moving before a tile is taken.
Shrink pages too tall for one image lets an oversized result fit within the browser's image limit. Turn it off if you prefer that capture to fail, then use Slices to retain the page in separate full-resolution pieces.
Batch: work through a queue
Capture from Open tabs processes ordinary web tabs in the current window and skips browser or extension pages. URL list accepts one address per line, up to 50; addresses without a scheme use HTTPS. Each job uses the current Capture and Output defaults and captures a full page.
Capture history must be on before a batch can run, so finished pages stay available. The page shows progress, reports individual failures, and lets you cancel a running batch.
Features: keep your workspace focused
The Features tab lists controls under Capture, Editor, Output, and Tools. Turn a feature off to hide its controls from the extension; the feature is still available to turn on again here. Turning off Capture history changes what is retained, so check the Output tab before disabling it.
Output: name, format, and keep results
Choose PNG, JPEG, or WebP as the default image format. The Quality slider appears for JPEG and WebP, from 40% to 100%. You can still choose another format in the popup for a particular capture.
Filename template accepts {site}, {date}, {time}, {mode}, {index}, {width}, and {height}. The example filename beneath the field updates as you edit, so check it before settling on a naming pattern. Automatic clipboard copy applies to PNG captures only.
When Capture history is on, Keep captures sets the newest-result limit and Delete after removes captures older than the chosen age, even if the count limit has not been reached. Open capture history takes you to the saved results. With history off, only the newest result remains until the next capture replaces it.
Slices: choose the shape of each piece
Slice by Screenful follows the visible viewport, Height uses a pixel height you enter, and Count divides the page into the number of pieces you choose. Overlap between slices adds 0–200 pixels of shared content at each boundary so adjacent images are easier to follow. These controls set the default for Slices captures.
Shortcuts: see and change keys
The Shortcuts tab shows the current key for each extension command, or “unset” where none is assigned. Choose Change shortcuts to open Chrome's extension shortcut page, where browser-managed bindings can be edited.
A sensible first pass
- Choose Standard or Turbo under Capture and decide whether lazy images need a pre-scroll.
- Set an Output format and filename that match how you share captures.
- Decide whether to keep Capture history, and set its count and age limits if you do.
- Choose a Slices strategy for pages too tall for one image, then review Features and Shortcuts as needed.